Performing a Data Recovery
Below we describe the steps of a typical data recovery with GetDataBack Pro:
Steps of a Typical Data Recovery
-
1. Install —

Install:
Gdbprosetup.exeinstalling GetDataBack ProInstall GetDataBack on a healthy Windows machine, without the drive you want to recover data from attached ("bad drive").
-
2. Verify free space —

Verify disk space: "Good drive"
C:\with over 50 GB free spaceMake sure you have sufficient space on the "good drive" for storing the recovered data. You can also copy the recovered data to a LAN if you have access to one. The machine you are running GetDataBack on can have any of the following operating systems: Vista, Windows 7, Windows 8, Windows 10, 32-bit or 64-bit.
-
3. Attach "bad drive" —

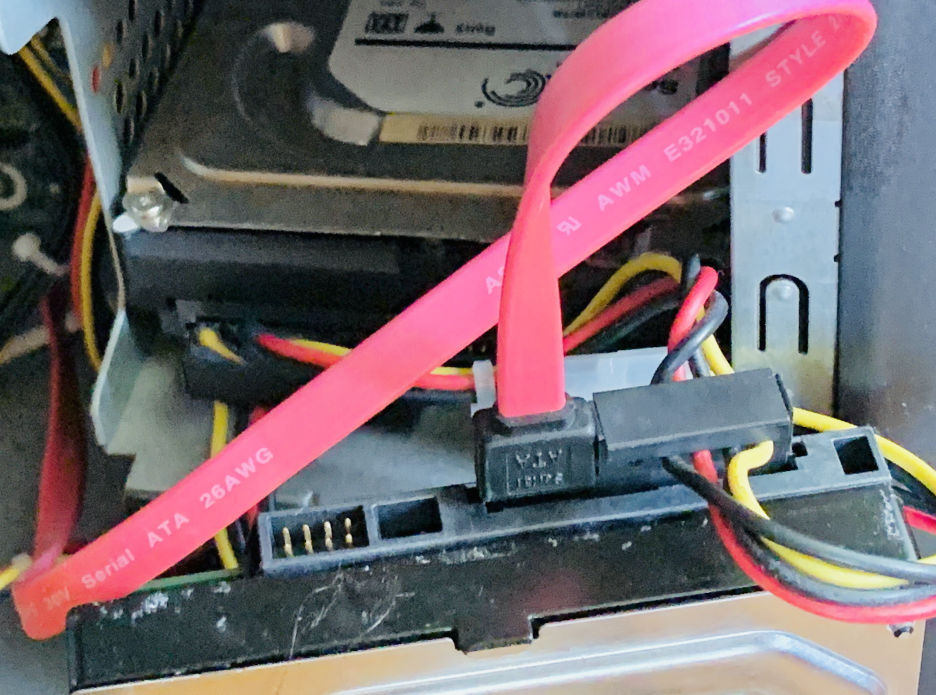
"Bad drive": 2nd drive attached as
DISK1to SATA
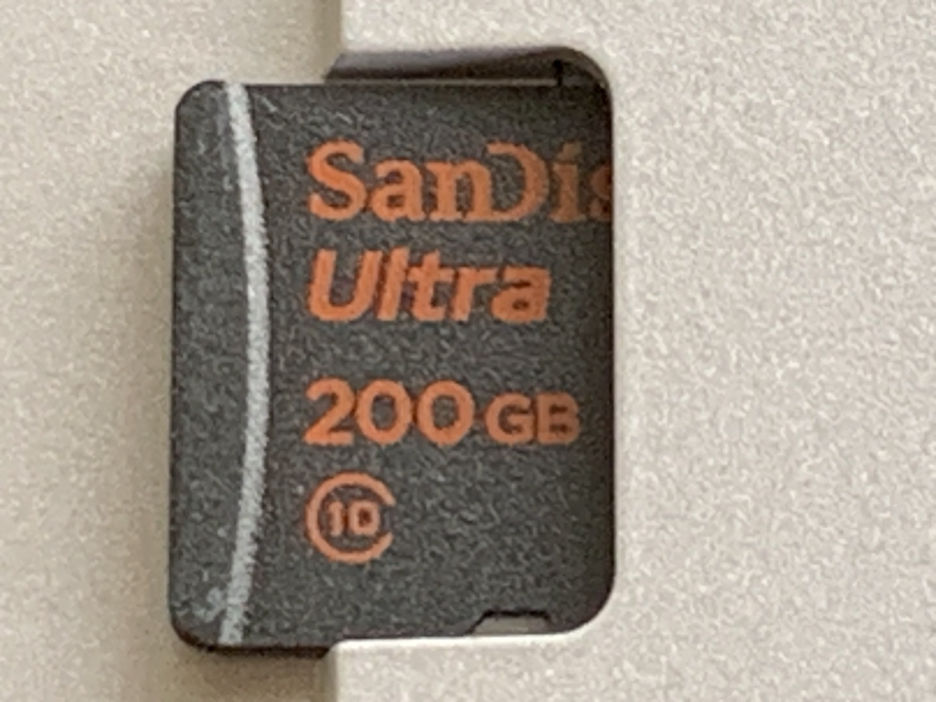
"Bad drive": SD card attached as
DISK1to USBShut down the computer and connect the drive you want to recover from ("bad drive") as a 2nd drive. If it is an internal drive, attach it to the internal SATA cable and make sure it is recognized correctly by the BIOS when starting up the computer. If it is a USB drive, start up the computer and attach it to a USB port. Make sure the USB device is recognized, and the drive shows up in Windows Disk Management.
-
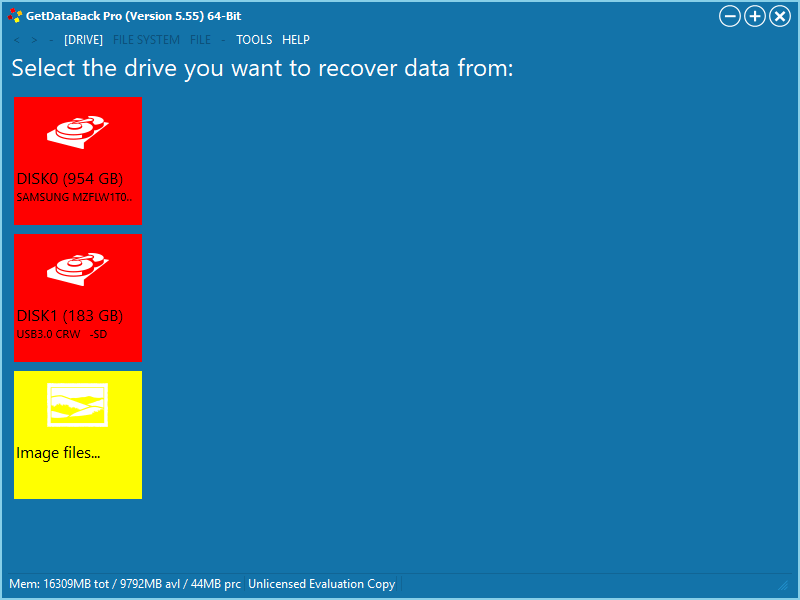
4. Select the "bad drive" to recover —

GetDataBack: Working on
DISK0, recovering data fromDISK1Start GetDataBack and verify that
DISK0is the "good drive" andDISK1is the "bad drive". Select the "bad drive"DISK1. -
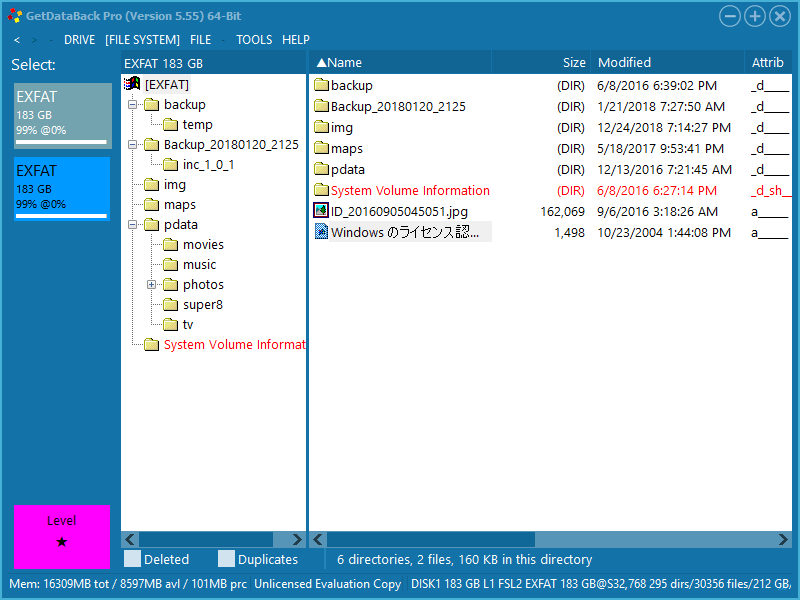
5. Select File System and Recovery Tree —

Recovery Tree: Recovered files and directories
In the Select File System screen, select the first file system (an exFAT volume with 183 GB). GetDataBack will then show the Recovery Tree for this file system.
-
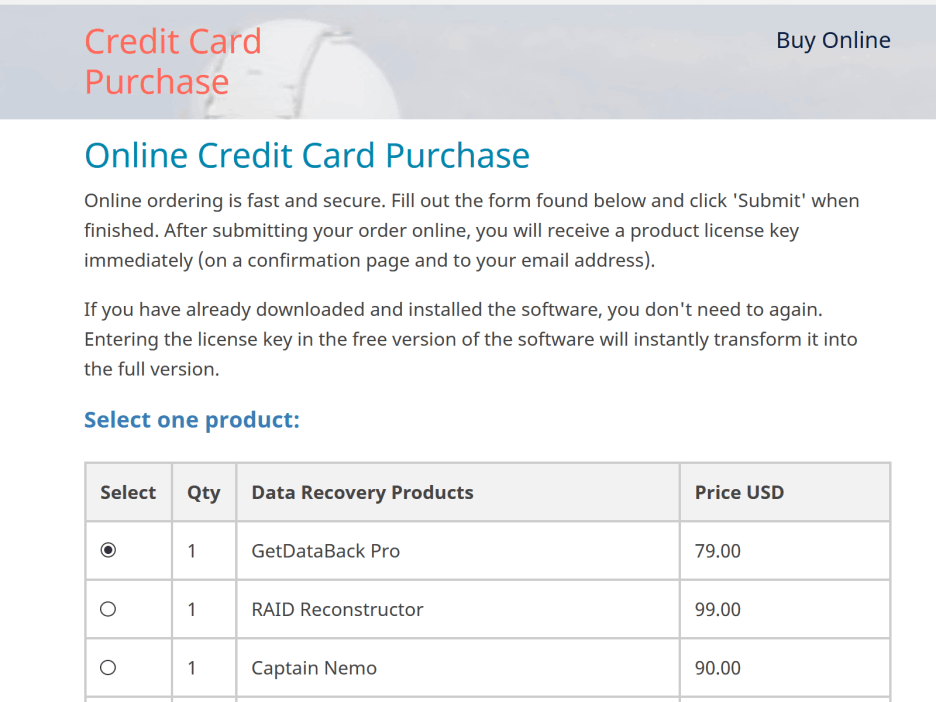
6. Enter license key —

Enter license key: In Help—>License enter name and license key

Buy license key: Go to http://www.runtime.org
Once you see the Recovery Tree and are ready to copy the recovered files over to the "good drive", you need to purchase a license key, if you have not already done so. Do not quit GetDataBack for purchasing or entering the license code; just enter the code and copy the files.
-
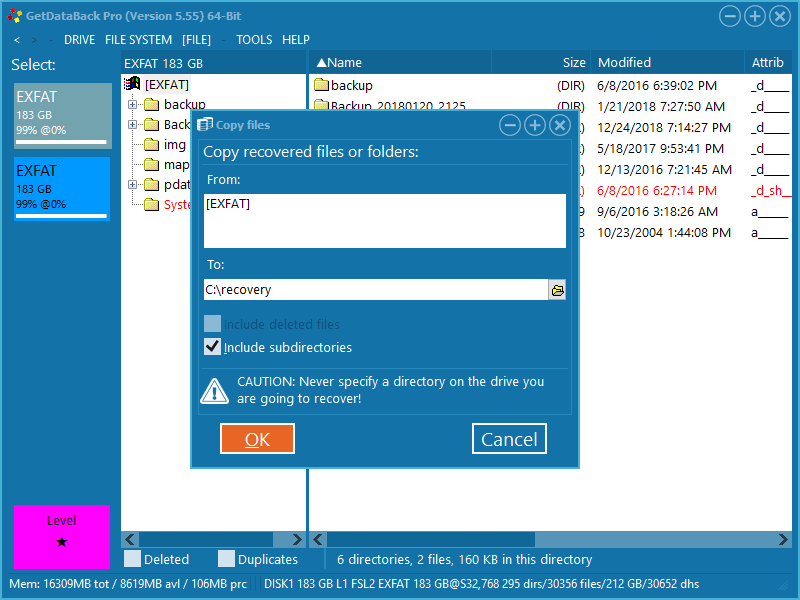
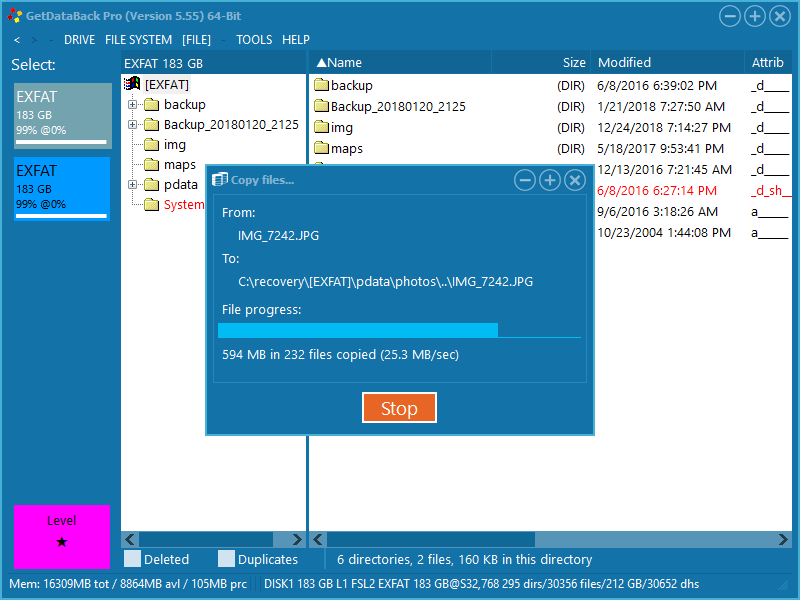
7. Copy the files —

Copy the files: GetDataBack displays the copy progress

Copy the files: Copying all recovered data from
[EXFAT]toC:\recoveryCopy the recovered files. It is a good idea to start with the files you need most. Then copy all other data.
-
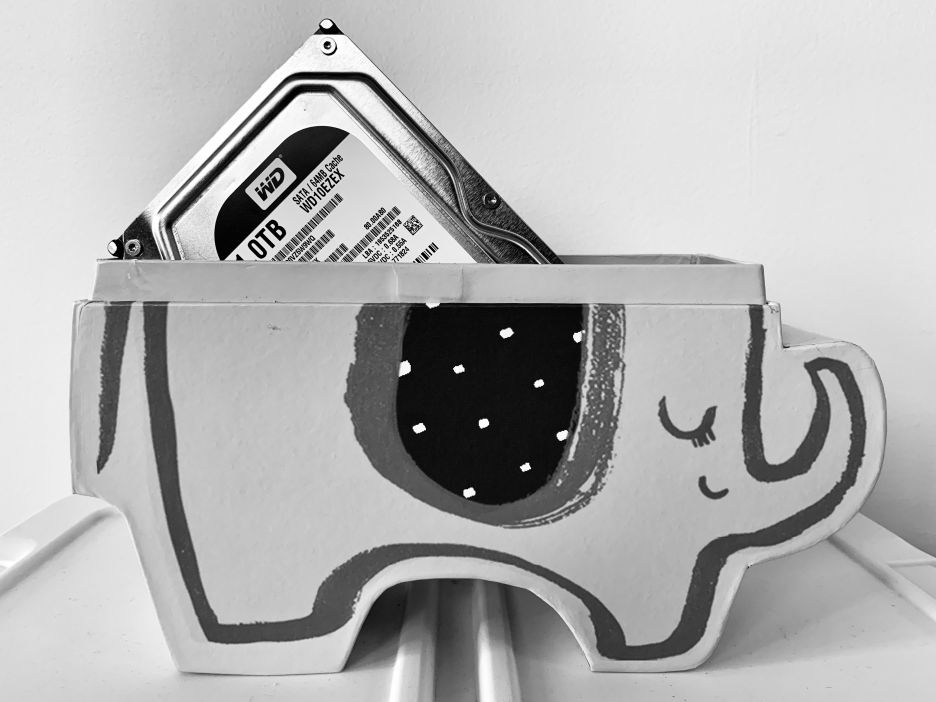
8. Put the "bad drive" aside —

After the recovery: Store the "bad drive" at a safe location
After copying all desired files, shut down the computer and remove the "bad drive". Store the "bad drive" in a safe place.
-
9. Build a new system —

Build a new system: Do not re-use the "bad drive".
We suggest building a brand new Windows installation now. Use components other than the "bad drive". Install the operating system. Install the programs from their installation CD-ROMs. Finally, import the recovered data to the new drive.
-
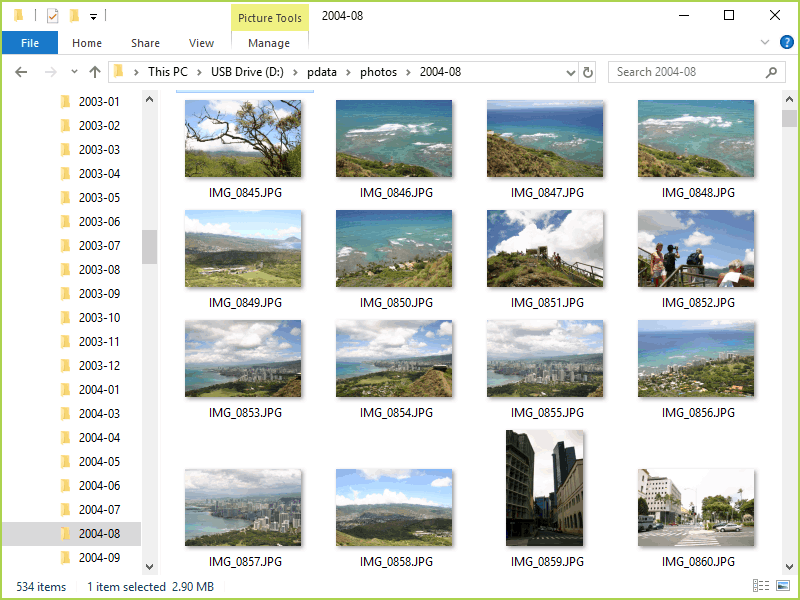
10. Check the recovered files —

Check the recovered files: Look into pictures.
Verify that you recovered all the data you need. Do not recycle the "bad drive" before you are sure about this. It is a good idea to wait four weeks before re-using the "bad drive". If the "bad drive" had any mechanical problems, you definitely should not use it again.